November 14, 2015
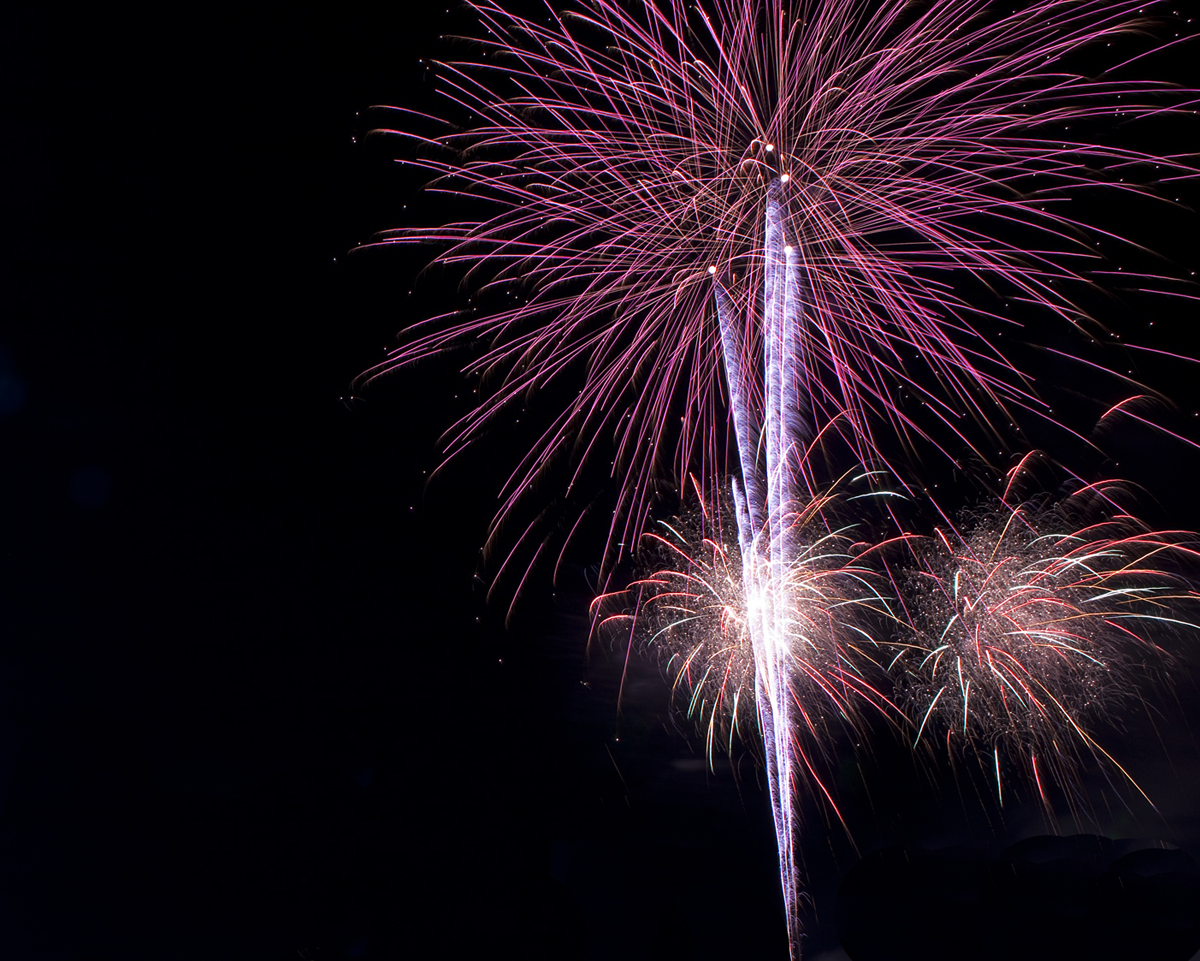
How to photograph fireworks
Here’s our top 10 tips for capturing brilliant images of fireworks.
- Position, position, position
Location is the key. Areas can get very busy especially at times like New Year Eve and it’s not unheard of to hear of photographers ‘camping’ on a site for a day before the event to secure a prime sought after position. A rule of thumb is higher is generally be better. - Use a tripod
The tripod head needs to be able to support your camera and the heaviest lens you have in a vertical position. If you forget your tripod, relax and try some hand holding abstract images: drawing with the camera shapes and letters, zooming in and out during an exposure, the options are endless and can create some bizarre one-of-a-kind images.
If your lens has IS or VR turn it off when on a tripod. - Use a cable release or remote control
We want to avoid any form of camera shake and control the shutter opening time to the firework burst for the optimum image. - Form your composition – it does matter
Think about what you want to portray in the scene and take the time to look around your image area and ask yourself do you really need it? Don’t let unnecessary items clutter your image! - Which lens?
Choosing which lens can be difficult.
Each lens has negatives and positives. With a wide angle you can include other points of interest like a landscape or cityscape in your image. An object that is recognisable such as a statue or monument can really look awesome.With a zoom you can capture one burst standing solitary in the sky and eliminate other objects that could become distracting like bright lights or even worse the backs of people’s heads. - Know the wind direction
It is preferable to get upwind as then smoke will blow away from you. A still night can be as bad as those when the wind is blowing towards you, as the smoke lingers longer in the air and is notably worse after multiple bursts. You can always edit afterwards but it can also be a lot of work.
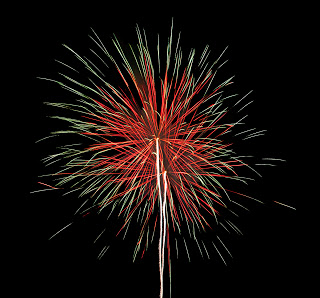
The feature image has had some Photoshop post processing on it. Here is the original. - Focusing
Look for an area of contrast and pre-focus. Turn auto focus off. - Exposure = ISO, Aperture and Shutter Speed – it’s often the hardest part so here is the recipe:
Shoot in Manual Mode
Choose a low ISO for example Canon 100 and Nikon 200.
Shutter: bulb
Aperture: Start at f/8 – 16
Be willing to exposure compensate using your aperture and shutter to get the correct exposure. - Shoot horizontal and vertical
Variety is the spice of life! - Experiment and have fun!
Most importantly keep your photography fun and if you have managed to do all the above whilst juggling a glass of bubbly in one hand after the midnight show, then please let us know!